forta-api
Forta API Example Queries & Issue Tracker
Query past alerts by block number or date range
What information will I get?
This query will return past alerts emitted in the specified block number or date range. This query can be useful for specific analysis like the following:
- Analyzing my detection bot’s alerting rate and tweaking the alerting threshold (e.g. gas threshold).
- Analyzing and summarizing past common activity for a specific blockchain project.
How to execute this query?
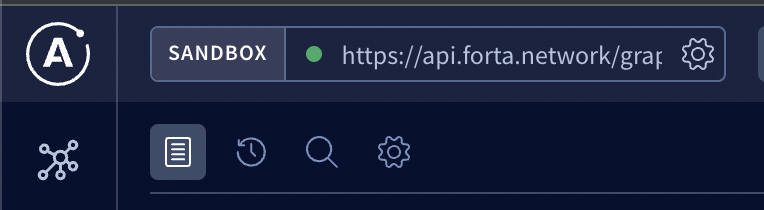
Step 1: Go to Forta API Sandbox. Make sure the endpoint is set to https://api.forta.network/graphql in the top left corner before proceeding to the next steps.
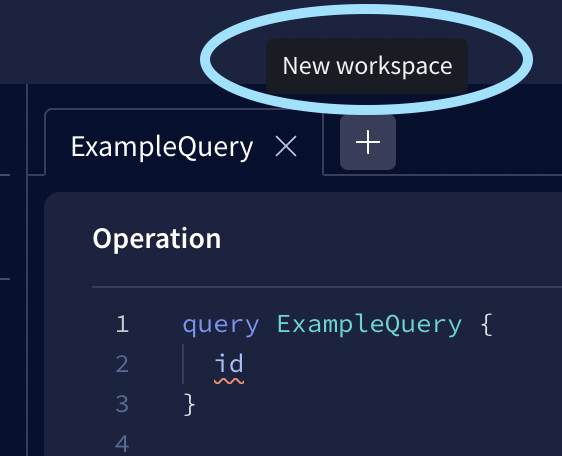
Step 2: Create a new workspace.
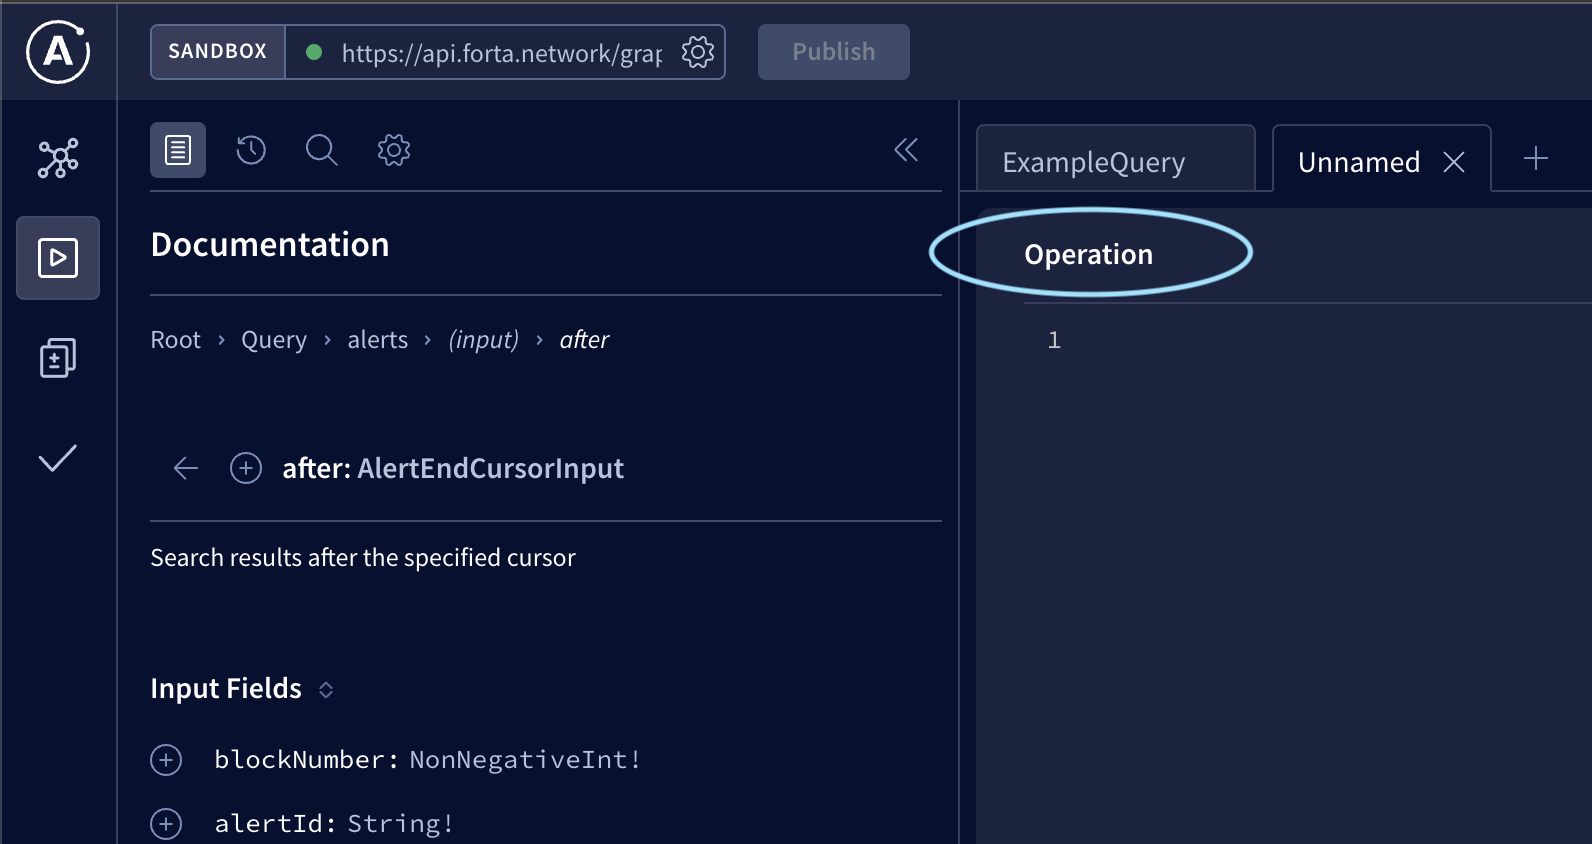
Step 3: Paste the following query in the Operation panel. For more details on the available alert fields, please checkout the AlertsResponse Schema.
query pastAlerts($input: AlertsInput) {
  alerts(input: $input) {
    pageInfo {
      hasNextPage
      endCursor {
        alertId
        blockNumber
      }
    }
    alerts {
      addresses
      projects {
        id
      }
      name
      protocol
      findingType
      source {
        transactionHash
        block {
          number
          timestamp
          chainId
        }
      }
      severity
      metadata
    }
  }
}
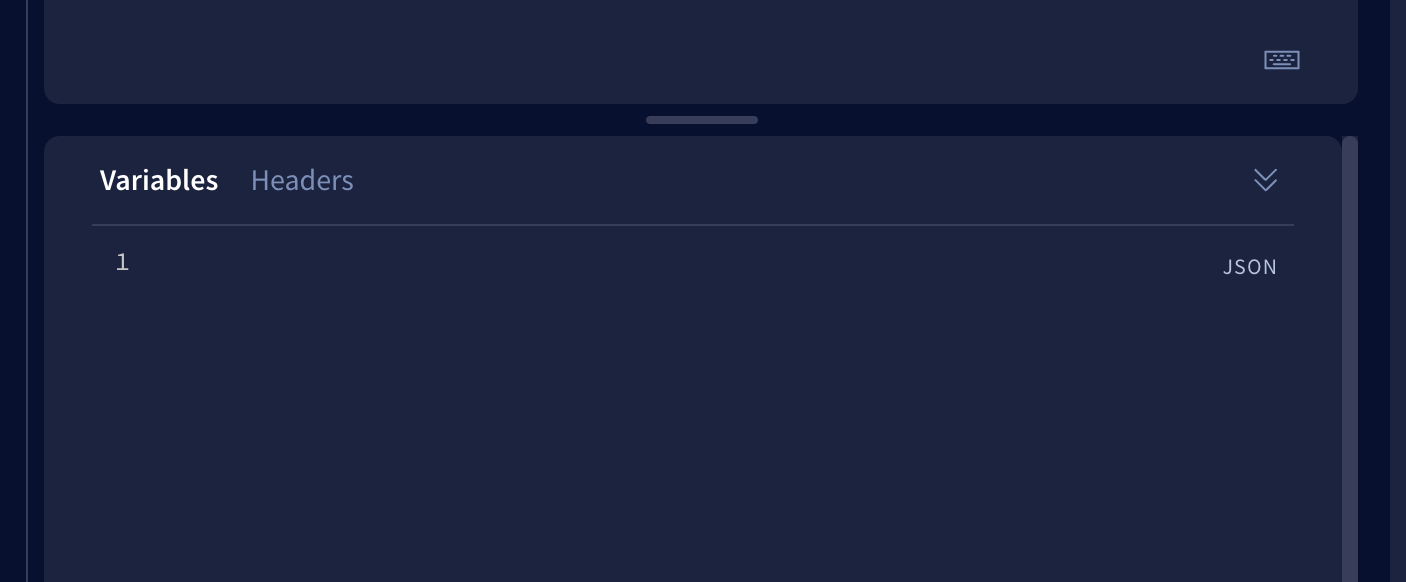
Step 4: Replace the placeholders in the following query parameters and paste them in the Variable panel. For more details on the available query parameters, please checkout the AlertsInput Schema
{
  "input": {
    "first": 5,
    "bots": [<BOT_ID_A>, <BOT_ID_B>],
    "chainId": 1,
    "blockSortDirection": "asc",
    "blockDateRange": {
      "startDate": "2022-02-01",
      "endDate": "2022-02-01"
    }
  }
}
If there’s a specific range of block numbers you’d like to query, you can specify the starting and ending block numbers instead of date range.
{
  "input": {
    ...
    "blockNumberRange": {
      "startBlockNumber": 14123256,
      "endBlockNumber": 14123266
    }
  }
}
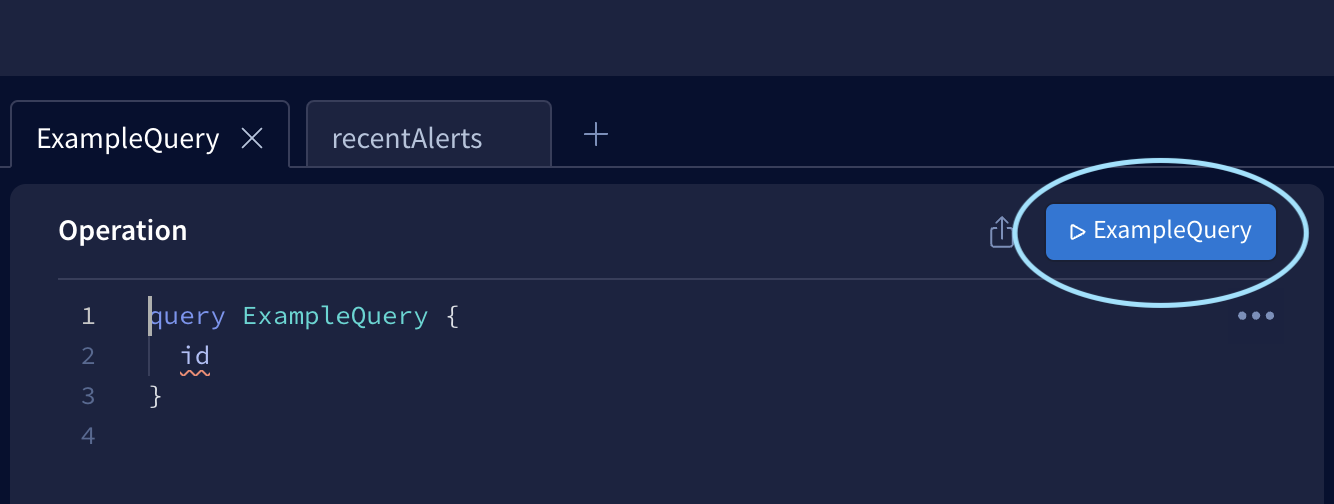
Step 5: Click on the blue submit button on the Operation panel to execute the query.
The button will look like the following:
NOTE: The button text will be different depending on the query name.
And that’s it! You should be able to see the query results in the Response panel on the right.
The results are paginated, how do I get the next page?
If the output returns "hasNextPage": true, add the after query parameter in the input object to get the next page of alerts and execute the query.
{
  "input": {
    ...
    "after": {
      "blockNumber": "<END_CURSOR_BLOCK_NUMBER>",
      "alertId": "<END_CURSOR_ALERT_ID>"
    }
  }
}